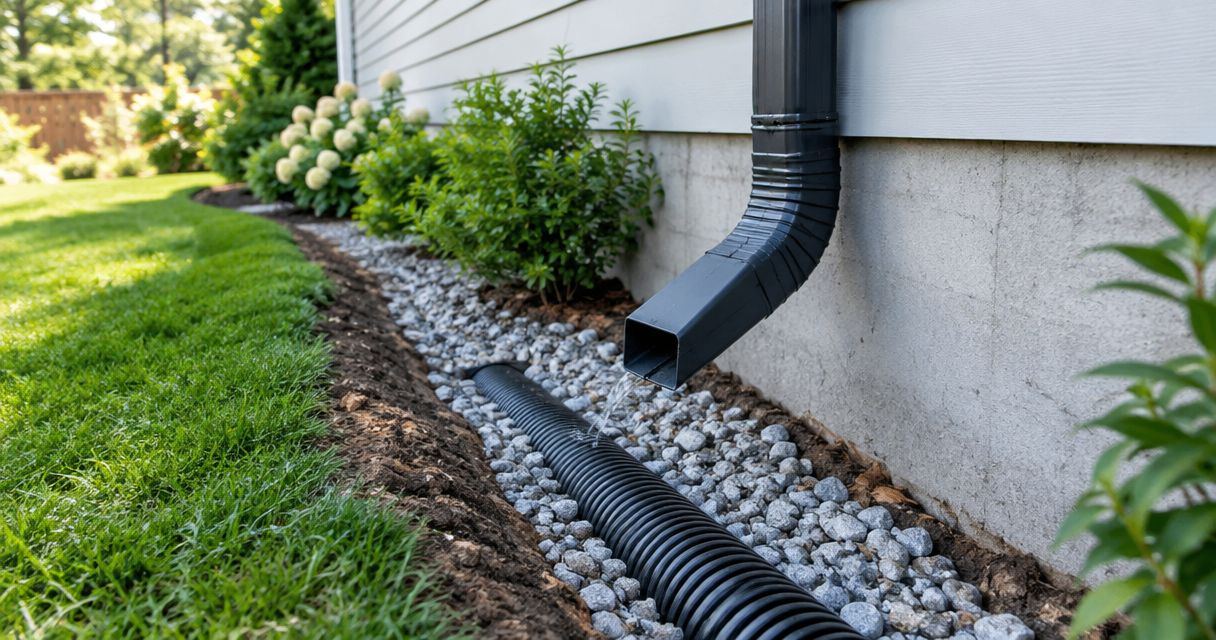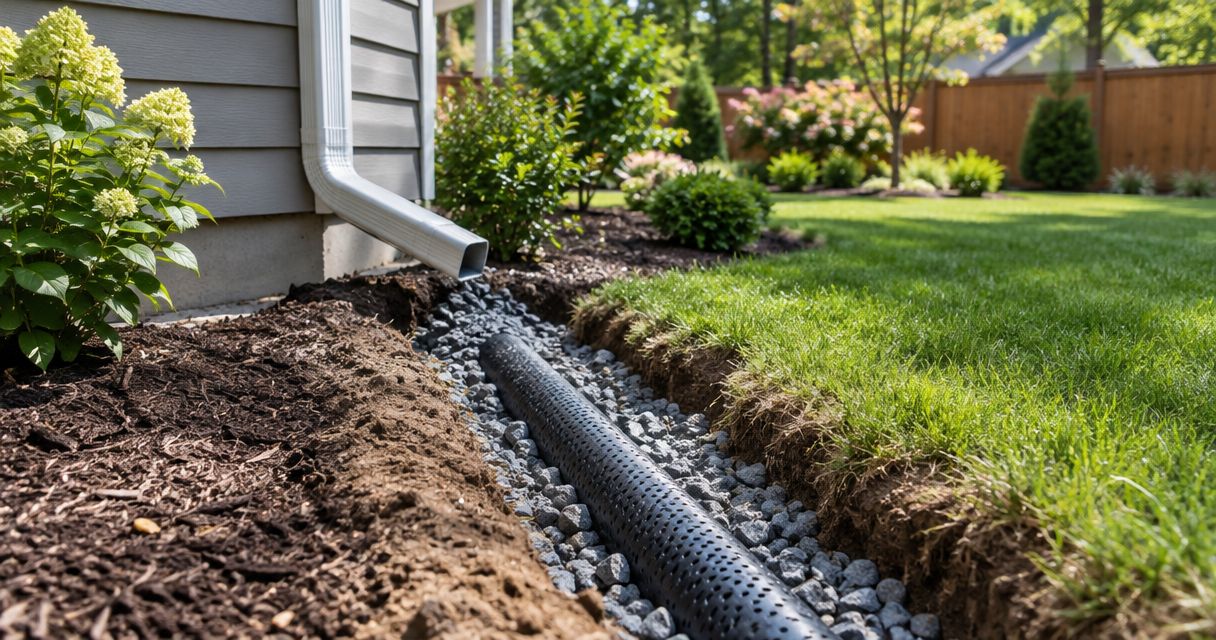
Best overall: a below-slab perimeter drain for recurring seepage along basement edges. Best for wet walls: a wall drainage membrane connected to a perimeter drain. Best limited-scope option: a localized floor channel for an isolated entry point. For DFW homeowners, the best interior drain systems for basement waterproofing depend on where water enters and where it can safely discharge.
- The best interior drain systems for basement waterproofing match the water source, collection path, and discharge route.
- Below-slab perimeter drains suit recurring seepage along basement edges; installation requires concrete removal.
- Wall drainage membranes guide wall seepage into a connected drain; they do not repair structural damage.
- Crisscrossco provides drainage and waterproofing services for DFW homeowners seeking a free on-site estimate.
Why this matters
An interior drain manages water after it reaches the basement. It does not automatically stop water from entering through the foundation, repair a moving wall, or correct poor yard drainage. Choose the collection system and the discharge route together. A drain without a dependable outlet leaves the job incomplete.
For a DFW basement waterproofing project in 2026, start with the source: groundwater, surface runoff, plumbing leakage, or condensation. These require different responses. Crisscrossco provides foundation repair, drainage and waterproofing, and concrete work for residential property owners across DFW.
What makes the best interior drain system?
Use these criteria before choosing a system or comparing proposals:
- Water-source match: The system must address the actual entry point, not just the wet spot you can see.
- Collection coverage: Recurring seepage around several walls needs a different layout from an isolated doorway leak.
- Foundation clearance: Excavation must account for the footing and avoid undermining structural support.
- Discharge route: Collected water needs an appropriate outlet, with pumping when gravity drainage is not practical.
- Maintenance access: You need a way to inspect the collection system and service any pump.
- Installation disruption: Concrete removal, wall finishes, storage, and utilities affect the work area.
Evaluate every proposal against all six criteria. A familiar system name tells you less than a clear explanation of its location, outlet, and service access.
Interior drain systems at a glance
| Rank and system | Best for | Standout feature | Key limitation |
|---|---|---|---|
| 1. Below-slab perimeter drain | Recurring seepage along basement edges | Collects water beneath the floor perimeter | Requires concrete removal and careful excavation |
| 2. Footing-mounted perimeter channel | Layouts suited to collection above the footing | Places the collection channel on the footing | Suitability depends on footing and floor configuration |
| 3. Above-floor baseboard channel | Accessible wall-floor joint leaks | Collects water without a below-floor trench | Does not provide under-slab collection |
| 4. Localized floor channel | An isolated, confirmed entry point | Limits collection work to the affected area | Does not address widespread groundwater seepage |
| 5. Wall drainage membrane with perimeter drain | Wall seepage requiring a connected drainage path | Guides water down the wall into the collection system | Does not stop entry or repair structural defects |
These are system types, not proprietary product recommendations. A 2026 proposal should identify the actual installation details rather than rely on a branded system name alone.
1. Below-slab perimeter drain: best for recurring edge seepage
A below-slab perimeter drain collects water beneath the basement floor near the foundation walls. Installation involves opening the concrete perimeter, creating the collection path, and connecting it to a suitable outlet or sump system.
This is the strongest starting option when water repeatedly appears along several basement edges. Its value is the location of collection: below the finished floor rather than across the room after water emerges.
Below-slab perimeter drain pros:
- Collects water beneath the floor perimeter.
- Can serve multiple affected walls through a connected layout.
- Keeps the collection path out of the finished walking area.
Below-slab perimeter drain cons:
- Requires concrete removal and restoration.
- Excavation must account for the footing, buried services, and existing construction.
- Does not repair cracks or remove the need for exterior drainage assessment.
Best for: Homeowners with recurring seepage at multiple wall-floor edges and a confirmed need for below-floor collection.
Ask where the drain will sit relative to the footing. Also ask how water reaches it, where inspection access will remain, and how the concrete will be restored. Those details belong in the scope before work begins.
Verdict: Buy only after the assessment confirms perimeter collection and a suitable discharge route.
2. Footing-mounted channel: best for suitable footing layouts
A footing-mounted perimeter channel sits above the footing within the opened floor perimeter. It collects water through the system's inlet arrangement and directs it toward the outlet.
This layout is not interchangeable with every below-slab drain. The footing shape, floor construction, and water-entry pattern determine whether it fits the basement.
Footing-mounted channel pros:
- Provides a defined collection path along the wall perimeter.
- Uses an above-footing position rather than a collection trench beside the footing.
- Can connect perimeter collection to a sump or another appropriate outlet.
Footing-mounted channel cons:
- Still requires opening and restoring the floor perimeter.
- Does not suit every footing or slab configuration.
- Inlet and access details determine how the installed system collects water and receives maintenance.
Best for: Basements where an assessment supports an above-footing collection layout.
Request a section drawing showing the wall, footing, slab, channel, and outlet. You should be able to understand where the water travels without accepting a vague promise that the channel will handle everything.
Verdict: Hold until the installer explains why an above-footing layout fits your basement.
3. Above-floor baseboard channel: best for accessible joint leaks
An above-floor baseboard channel runs along the inside wall-floor joint. It collects water at that joint and carries it toward a connected outlet without creating a below-floor perimeter trench.
This option addresses a narrower collection area than an under-slab system. It is a targeted choice for an accessible joint, not a substitute for groundwater collection beneath the floor.
Above-floor baseboard channel pros:
- Avoids a below-floor collection trench.
- Provides a visible collection route along the wall base.
- Addresses a defined wall-floor joint entry path.
Above-floor baseboard channel cons:
- Does not collect groundwater beneath the slab.
- Occupies space along the wall base and affects finish details.
- Depends on a suitable attachment surface and connected discharge route.
Best for: Homeowners with confirmed joint seepage who need to avoid below-floor trenching.
Check whether existing wall coverings conceal the entry point. Ask how the channel meets corners, door openings, and the outlet. A continuous path matters more than the appearance of a short demonstration section.
Verdict: Buy for confirmed joint leakage; skip as a stand-alone answer to widespread under-slab seepage.
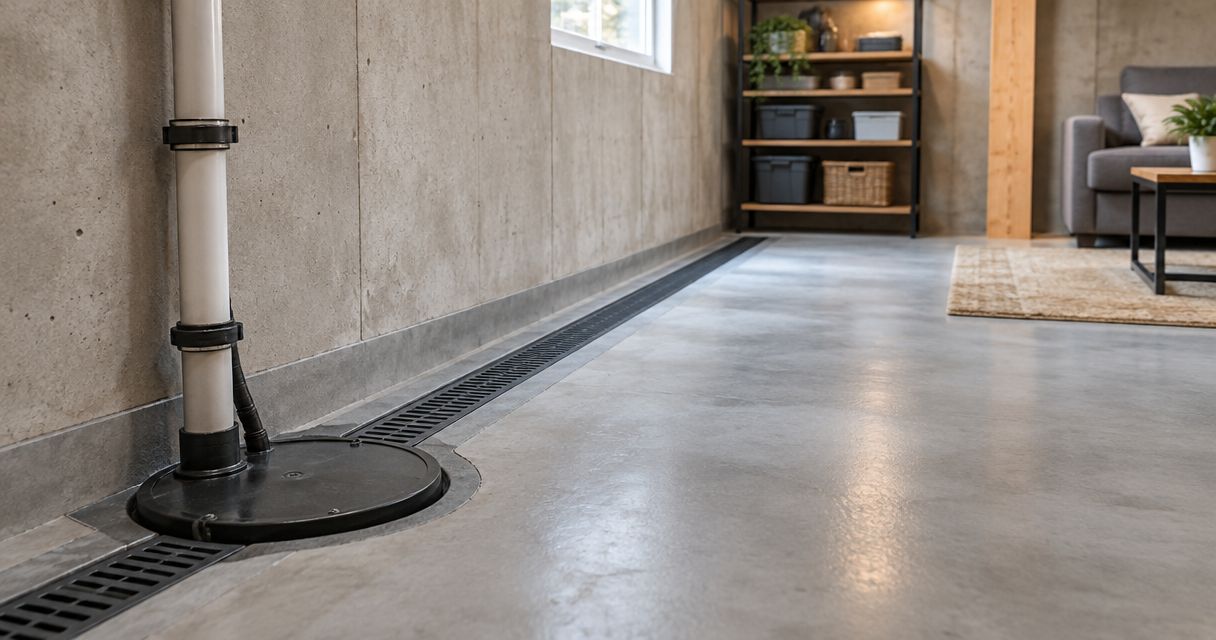
4. Localized floor channel: best for an isolated entry point
A localized floor channel collects water in a specific area, such as a basement doorway or another confirmed entry location. Its layout addresses that location rather than the entire basement perimeter.
This is the best limited-scope option when the problem is genuinely isolated. A smaller installation scope does not prove that the underlying problem is small, so inspect beyond the visible puddle.
Localized floor channel pros:
- Focuses collection on a known entry point.
- Limits the work area compared with a full perimeter installation.
- Can intercept water before it spreads across the room.
Localized floor channel cons:
- Leaves other entry locations unaddressed.
- Requires an appropriate outlet despite its smaller scope.
- Does not correct the exterior source of doorway or surface runoff.
Best for: A basement with an isolated, verified entry point and no evidence requiring broader collection.
For a 2026 project, ask the contractor to explain why local collection is sufficient. If water also appears at distant walls or through floor cracks, revisit the proposed coverage before accepting a localized layout.
Verdict: Buy for an isolated source; hold if the water pattern extends beyond that area.
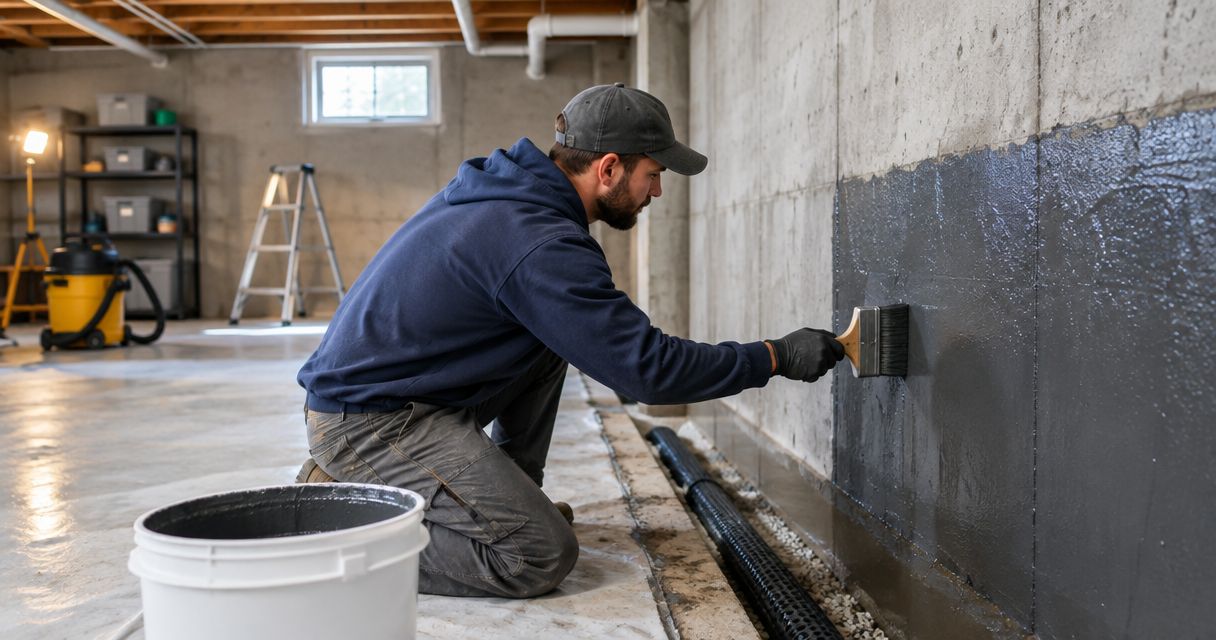
5. Wall drainage membrane: best for wet walls
A wall drainage membrane creates a path for wall seepage to travel down into a connected perimeter drain. The membrane and drain work as a paired system; the membrane alone does not provide an outlet.
This option suits wall seepage that needs controlled collection behind the interior finish. It manages incoming water rather than making the wall structurally sound or preventing water from reaching it outside.
Wall drainage membrane pros:
- Guides wall seepage toward a collection drain.
- Provides a defined drainage path behind interior finishes.
- Connects wall-water management with floor-perimeter collection.
Wall drainage membrane cons:
- Requires a connected drain and discharge route.
- Can conceal the wall from routine visual inspection after finishing.
- Does not repair movement, damaged masonry, or structural cracks.
Best for: Basements with wall seepage that requires collection as well as perimeter drainage.
Inspect the exposed wall before covering it. If you also see displacement, bowing, or changing cracks, address the assessment of those conditions separately from the drainage proposal. Read the guide to foundation crack repair methods to understand why crack treatment and water collection are different decisions.
Verdict: Buy as part of a connected drainage system; skip as a stand-alone repair for a damaged wall.
Check the complete water path
Every workable interior drainage layout connects 3 components: collection, conveyance, and discharge. Collection catches the water; conveyance moves it; discharge takes it to an appropriate destination. Check all three before approving the installation.
A sump pump is part of the discharge plan, not a replacement for a collection system. If the design depends on pumping, ask about electrical supply, pump access, discharge routing, and backup arrangements. Do not assume those details are included merely because the proposal mentions a sump.
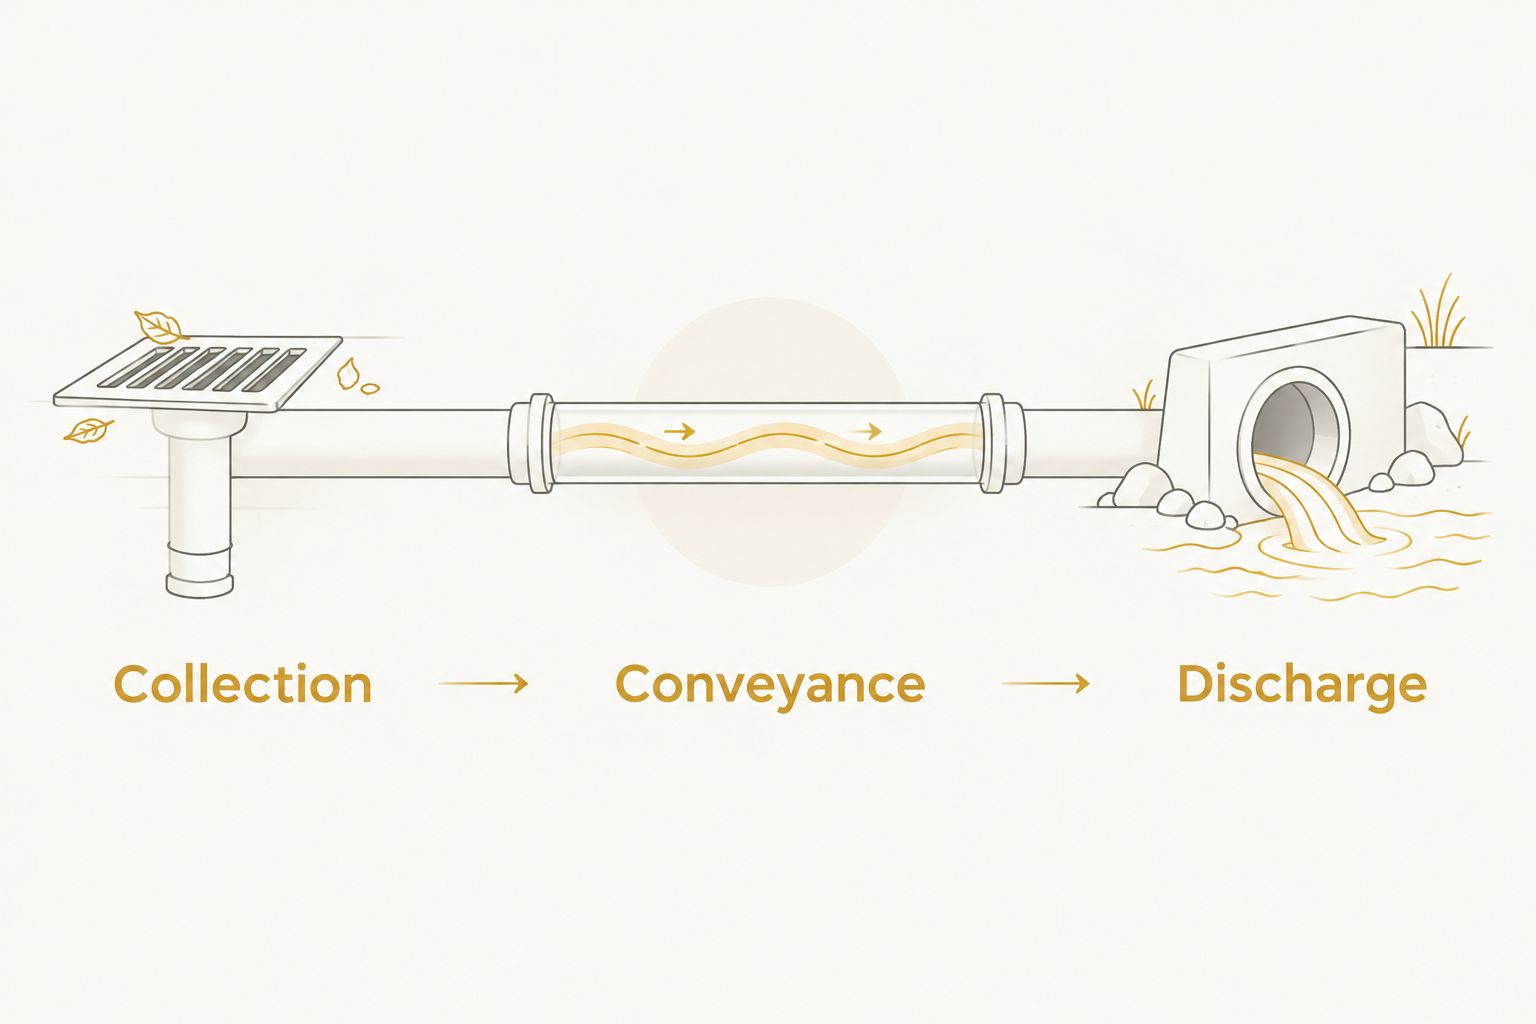
For your 2026 estimate, use these 4 checkpoints:
- Entry point: Identify where water first appears, not just where it pools.
- Drain position: Confirm the proposed location relative to the floor and footing.
- Outlet route: Identify the destination and any pumping requirements.
- Service access: Keep inspection and pump access reachable after finishing.
Ask Crisscrossco about basement waterproofing and drainage during a free on-site estimate in DFW. Describe what happens during rain and what stays wet afterward so the discussion starts with the water pattern.
Schedule Your Free On-Site Estimate
Discuss foundation, drainage, and concrete concerns at your DFW home.
How the systems are ranked
The ranking prioritizes collection coverage, water-source fit, foundation clearance, discharge, maintenance access, and installation disruption. Below-slab perimeter drainage takes the default position for recurring edge seepage because it collects beneath the floor perimeter. The other options serve narrower or different installation needs.
This is a use-case ranking, not a claim that every basement needs the first system. The right system is the one that matches the confirmed entry pattern and has a complete outlet plan.
Which interior drain system should you choose?
Start with a below-slab perimeter drain assessment if water repeatedly appears along multiple basement edges. Choose a localized channel only when the entry point is isolated, and consider a wall membrane when wall seepage needs a connected collection path.
Crisscrossco is best for DFW homeowners seeking an on-site assessment of drainage, waterproofing, and related foundation concerns. Schedule a free on-site estimate before selecting a drain layout or covering a wet wall.
FAQ
What's the best interior drain system for basement waterproofing?
A below-slab perimeter drain is the default choice for recurring seepage along multiple basement edges. The final layout must match the water source, footing configuration, and discharge route.
Is an above-floor drain better than a below-slab drain?
An above-floor drain is better suited to accessible wall-floor joint leakage when below-floor trenching is not appropriate. It does not provide the under-slab collection of a below-slab perimeter drain.
Do I need a sump pump with an interior basement drain?
You need a sump pump when the drainage design requires pumping to reach a suitable outlet. A design with an appropriate gravity discharge route has different requirements; confirm the route during the assessment.
Can an interior drain repair foundation cracks?
An interior drain does not repair foundation cracks or structural movement. It collects water, while crack repair and foundation assessment address separate conditions.
Will a wall drainage membrane stop basement leaks?
A wall drainage membrane guides seepage into a connected drain rather than preventing water from entering the wall. It needs a collection system and an appropriate discharge route.
How do I compare basement waterproofing estimates in 2026?
Compare the entry point, drain position, outlet route, and service access in each basement waterproofing estimate. Also check the scope of concrete restoration, wall work, and any pumping equipment.
Does Crisscrossco offer free on-site estimates in DFW?
Crisscrossco offers free on-site estimates for DFW homeowners. Request an estimate to discuss foundation repair, drainage and waterproofing, or concrete work.
One last thing
The place where you find a puddle is not necessarily the place where water entered. Before your estimate, photograph the first wet area when it is safe to do so, then record how the water spreads. That sequence gives the assessment more useful information than a photo taken after the entire floor is wet.